O que é um PC de painel industrial? Componentes, tipos e aplicações
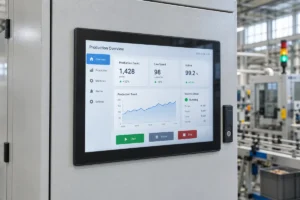
Um PC de painel industrial é um computador com um ecrã incorporado, normalmente tátil, concebido para ...
Equipa de Engenharia da Eagle Touch
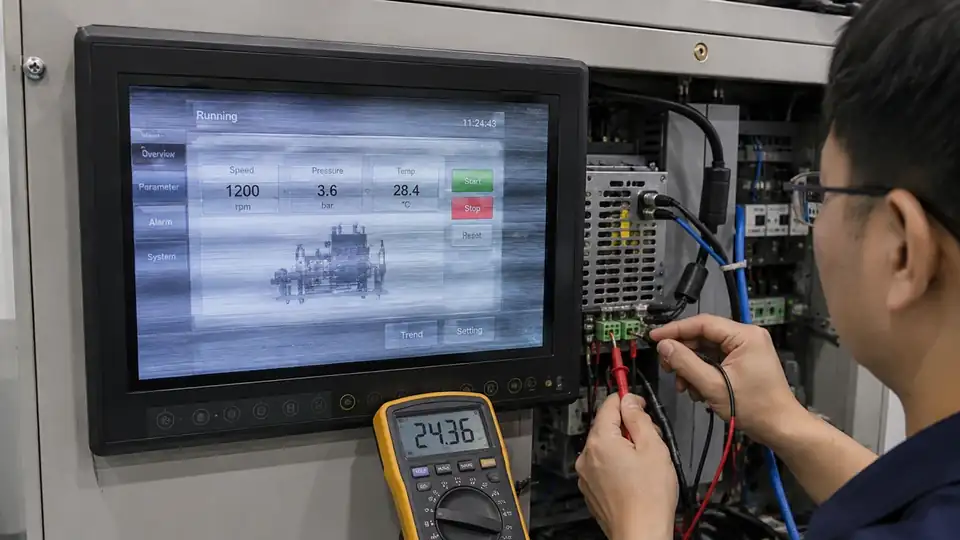
A oscilação da imagem num monitor industrial nem sempre significa que o painel LCD tenha avariado. A causa pode ser uma alimentação instável, um modo de vídeo incorreto, um cabo danificado, interferências elétricas, o controlo da retroiluminação ou uma avaria interna do monitor.
A questão fundamental é:
O problema persiste no mesmo monitor depois de a fonte de alimentação, o cabo de vídeo e a fonte de sinal terem sido testados separadamente?
Esta distinção ajuda a evitar substituições desnecessárias e permite determinar se a avaria se encontra no monitor ou noutra parte do equipamento.
Comece por identificar exatamente o que muda no ecrã.
| Sintoma | Área que provavelmente deve ser verificada em primeiro lugar |
|---|---|
| O brilho aumenta e diminui enquanto a imagem permanece visível | Controlo da retroiluminação, sinal de regulação de intensidade ou alimentação |
| O ecrã fica preto e, em seguida, volta ao normal | Potência de entrada, ligação de vídeo ou saída da fonte |
| Linhas em movimento, ruído ou imagem instável | Cabo de vídeo, sincronização do sinal, ligação à terra ou interferência eletromagnética (EMI) |
| A oscilação começa quando um motor, um relé ou um inversor entra em funcionamento | Alimentação partilhada, ligação à terra ou interferência elétrica |
| A falha ocorre apenas com uma determinada resolução | Compatibilidade com temporização, dimensionamento ou EDID não suportada |
| O cintilar surge após o aquecimento ou durante o arranque a frio | Falha no alimentador, no controlador ou na retroiluminação sensível à temperatura |
Se o ecrã permanecer preto em vez de recuperar, consulte o nosso Guia de diagnóstico para ecrã preto em ecrãs industriais.
Antes de alterar qualquer coisa, registe o sintoma original. Um pequeno vídeo que mostre o ecrã, o indicador de alimentação e o estado de funcionamento da máquina pode constituir uma prova útil.
Abra o menu no ecrã do monitor enquanto a oscilação se mantiver. Também pode desligar a entrada de vídeo e observar o ecrã «sem sinal» ou o padrão de teste integrado.
Se o OSD se mantiver estável, é mais provável que o problema esteja relacionado com a fonte, o cabo, o adaptador ou a sincronização de vídeo.
Se o OSD também piscar, verifique a alimentação do monitor e o hardware interno.
Verifique a tensão, a polaridade e a corrente necessárias nas especificações do produto.
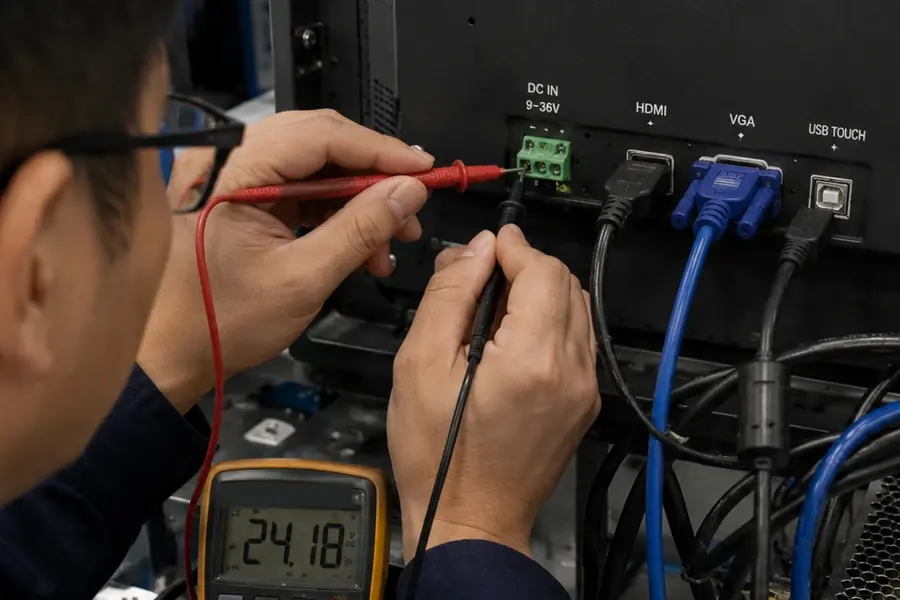
Sempre que for seguro, meça a tensão na entrada do monitor enquanto o equipamento estiver em funcionamento. Uma fonte de alimentação pode apresentar a tensão correta sem carga, mas esta pode baixar quando o monitor arranca ou quando outro componente da máquina é ligado.
Compare o resultado com uma fonte de alimentação regulada com a tensão e a corrente nominais corretas.
Não desligue a ligação à terra de proteção nem altere a cablagem da máquina sem uma avaliação elétrica adequada.
Defina a fonte de sinal para a resolução nativa do painel LCD e para uma taxa de atualização suportada pelo monitor.
Algumas placas controladoras podem aceitar uma resolução de entrada mais elevada e adaptá-la ao ecrã LCD. Isto não altera a resolução nativa do ecrã.
Se a oscilação tiver começado após uma atualização do controlador gráfico, do sistema operativo ou do firmware, teste a configuração anterior que funcionava corretamente antes de substituir o monitor.
Ligue a fonte diretamente ao monitor com um cabo curto e que se saiba que funciona bem.
Remover temporariamente:
Inspecione os conectores para verificar se existem pinos dobrados, má fixação ou tensão no cabo. Em equipamentos sujeitos a vibrações, os conectores de bloqueio e os dispositivos de alívio de tensão são especialmente importantes.
Ligue o monitor a outra fonte de sinal que se saiba que funciona corretamente.
Sempre que possível, ligue também outro monitor em bom estado de funcionamento ao equipamento original.
O resultado costuma indicar uma orientação clara:
Verifique se se verifica alguma oscilação:
Uma condição de funcionamento repetível é, muitas vezes, mais útil do que uma descrição geral da avaria.
Se o ecrã piscar quando um motor, um contactor, um aquecedor ou um inversor estiver em funcionamento, não presuma que a interferência eletromagnética (EMI) seja a única causa.
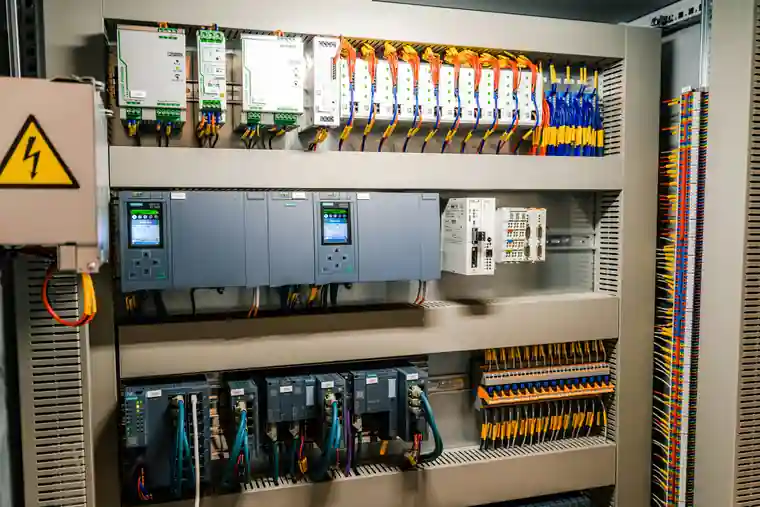
O evento poderá resultar em:
Analise a distribuição de energia, a ligação à terra, a blindagem e o traçado dos cabos como um único sistema. Mantenha os cabos de sinal de baixa tensão afastados dos cabos de comutação de alta corrente, sempre que a conceção da máquina o permitir.
Um conector pode parecer estável, mas pode perder o contacto durante uma fração de segundo devido à vibração.
Verifique primeiro as ligações externas de alimentação e de vídeo. Inspecione os feixes de cabos internos apenas quando o equipamento estiver desligado e o acesso for autorizado pelo fabricante.
Não abra um monitor selado ou ainda na garantia sem autorização.
Uma avaria que surge após o aquecimento pode estar relacionada com um componente de alimentação, uma placa de controlo, um conector ou um controlador de retroiluminação.
A oscilação na partida a frio pode ter uma causa diferente.
Registe a temperatura junto ao monitor e compare-a com o intervalo de funcionamento especificado. A temperatura no interior do armário pode ser significativamente superior à do ambiente circundante.
Quando a imagem permanecer visível, mas o brilho oscilar em níveis baixos, verifique:
O facto de a imagem apresentar cintilação apenas com baixo brilho não prova, por si só, que a causa seja o PWM. Se a imagem desaparecer por completo, volte a realizar os testes de alimentação e de vídeo.
Os testes acima aplicam-se principalmente a monitores industriais completos com entradas HDMI, DisplayPort, DVI ou VGA.
No caso de um módulo LCD sem moldura que utilize LVDS ou eDP, verifique também:
Nenhuma interface é, por si só, mais fiável em todas as aplicações. O desempenho depende do comprimento do cabo, da blindagem, da ligação à terra, da fixação dos conectores, da sincronização do sinal e do design da placa.
| Resultado do teste | Ação recomendada |
|---|---|
| A oscilação desaparece após a substituição da fonte de alimentação, do cabo, do modo de vídeo ou da fonte | Corrigir a integração do equipamento |
| Vários monitores apresentam a mesma falha durante o mesmo evento da máquina | Verifique a alimentação partilhada, a ligação à terra e a interferência elétrica |
| A avaria ocorre num único monitor em condições de teste comprovadamente corretas | Inspecione a placa de alimentação, o controlador, a retroiluminação, os chicotes elétricos e o conjunto do ecrã LCD do monitor |
| O problema limita-se a uma placa ou a um cabo substituível | A reparação pode ser uma solução prática |
| O ecrã LCD ou a retroiluminação foram descontinuados ou a sua reparação não é rentável | Avaliar um monitor de substituição |
| O monitor original não é adequado para o ambiente de funcionamento | Substitua-o por um modelo concebido para as condições reais |
Um monitor que já não é fabricado nem sempre requer uma nova caixa. Muitas vezes, é possível desenvolver um substituto com base no projeto mecânico e elétrico já existente.
Confirme as seguintes informações antes de escolher uma peça de substituição:
| Informações | Por que é importante |
|---|---|
| Tamanho do ecrã, proporção e resolução nativa | Mantém o layout da imagem e a compatibilidade do software |
| Dimensões gerais e recorte do painel | Determina se o invólucro existente pode ser mantido |
| Estrutura de montagem | Confirma a instalação em estrutura aberta, montagem em painel ou VESA |
| Entrada de vídeo e temporização suportada | Garante a compatibilidade com o controlador existente |
| Tensão de entrada e conector de alimentação | Evita alterações elétricas desnecessárias |
| Tecnologia tátil e interface | Gere os dados introduzidos pelo operador e a comunicação com o software |
| Brilho e método de regulação da intensidade luminosa | Adequado para utilização em espaços interiores, exteriores ou com regulação automática da intensidade luminosa |
| Temperatura de funcionamento e proteção frontal | Garante a adequação ao ambiente de instalação |
| Requisito de resistência ao impacto | Confirma o vidro de proteção necessário e o desenho do conjunto |
| Quantidade e vida útil prevista do produto | Garantem uma seleção estável de componentes e o abastecimento futuro |
A Eagle Touch desenvolve monitores industriais, monitores de estrutura aberta e monitores táteis para montagem em painel para equipamento OEM.
As dimensões mecânicas, o vidro de proteção, o brilho, a interface tátil, a entrada de vídeo e a ligação de alimentação podem ser adaptados ao equipamento, em vez de serem selecionados apenas com base no tamanho do ecrã.
Para ajudar um fornecedor a avaliar o problema, prepare:
Não necessariamente. O obturador da câmara pode interagir com a taxa de atualização do ecrã ou com a frequência de regulação da retroiluminação e apresentar faixas que não são visíveis ao olho humano.
Confirme se os operadores conseguem observar diretamente a oscilação. As aplicações que envolvam câmaras ou sistemas de visão artificial podem exigir testes de oscilação específicos.
A fonte e o monitor podem estar a restabelecer a ligação de vídeo, a ler dados EDID ou a alterar a sincronização de saída.
Verifique se a resolução é a nativa, se a taxa de atualização é compatível e se a ligação por cabo é direta. Se o problema ocorrer apenas num computador ou num comando, verifique o controlador gráfico, o firmware e as definições de gestão de energia do mesmo.
O LED de alimentação apenas indica que essa parte do monitor continua ligada.
A ligação de vídeo, a placa controladora ou a retroiluminação podem ainda estar interrompidas. Verifique se aparece o menu OSD ou o ecrã de «sem sinal» e, em seguida, verifique a fonte, o cabo e a tensão de entrada do monitor.
Algumas placas controladoras de monitor podem aceitar uma resolução de entrada mais elevada e adaptá-la ao painel LCD.
A resolução nativa do ecrã não se altera. Utilize a resolução nativa sempre que possível e certifique-se de que os tempos de entrada alternativos são oficialmente suportados.
Envie-nos o modelo do monitor que possui, o vídeo que mostra a avaria, a aplicação, o método de instalação e a quantidade necessária.
Podemos ajudar a determinar se o próximo passo deve ser a realização de mais testes, uma reparação ou a substituição por uma peça original do fabricante.
Um PC de painel industrial é um computador com um ecrã incorporado, normalmente tátil, concebido para ...
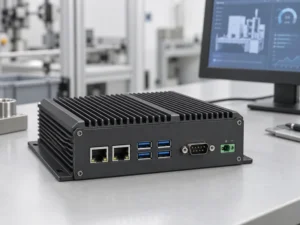
Um PC incorporado é um computador configurado para funcionar como parte de uma máquina ou de um sistema maior ...
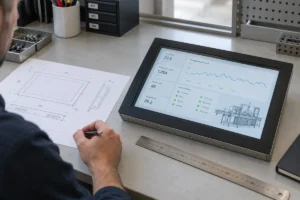
Comece por definir o software que o PC de painel deve executar e as condições que deve cumprir. Em seguida, ...
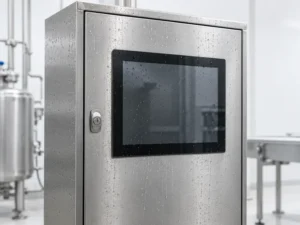
A escolha do índice de proteção IP de um PC de painel industrial começa com duas perguntas: qual é a exposição ao pó e à água ...
Descreva a sua aplicação, os seus requisitos ou o desafio que enfrenta atualmente. A nossa equipa analisará os detalhes e recomendará uma solução prática.