What Is an Industrial Panel PC? Components, Types and Applications
An industrial panel PC is a computer with a built-in display, usually a touchscreen, designed for …
Eagle Touch Engineering Team
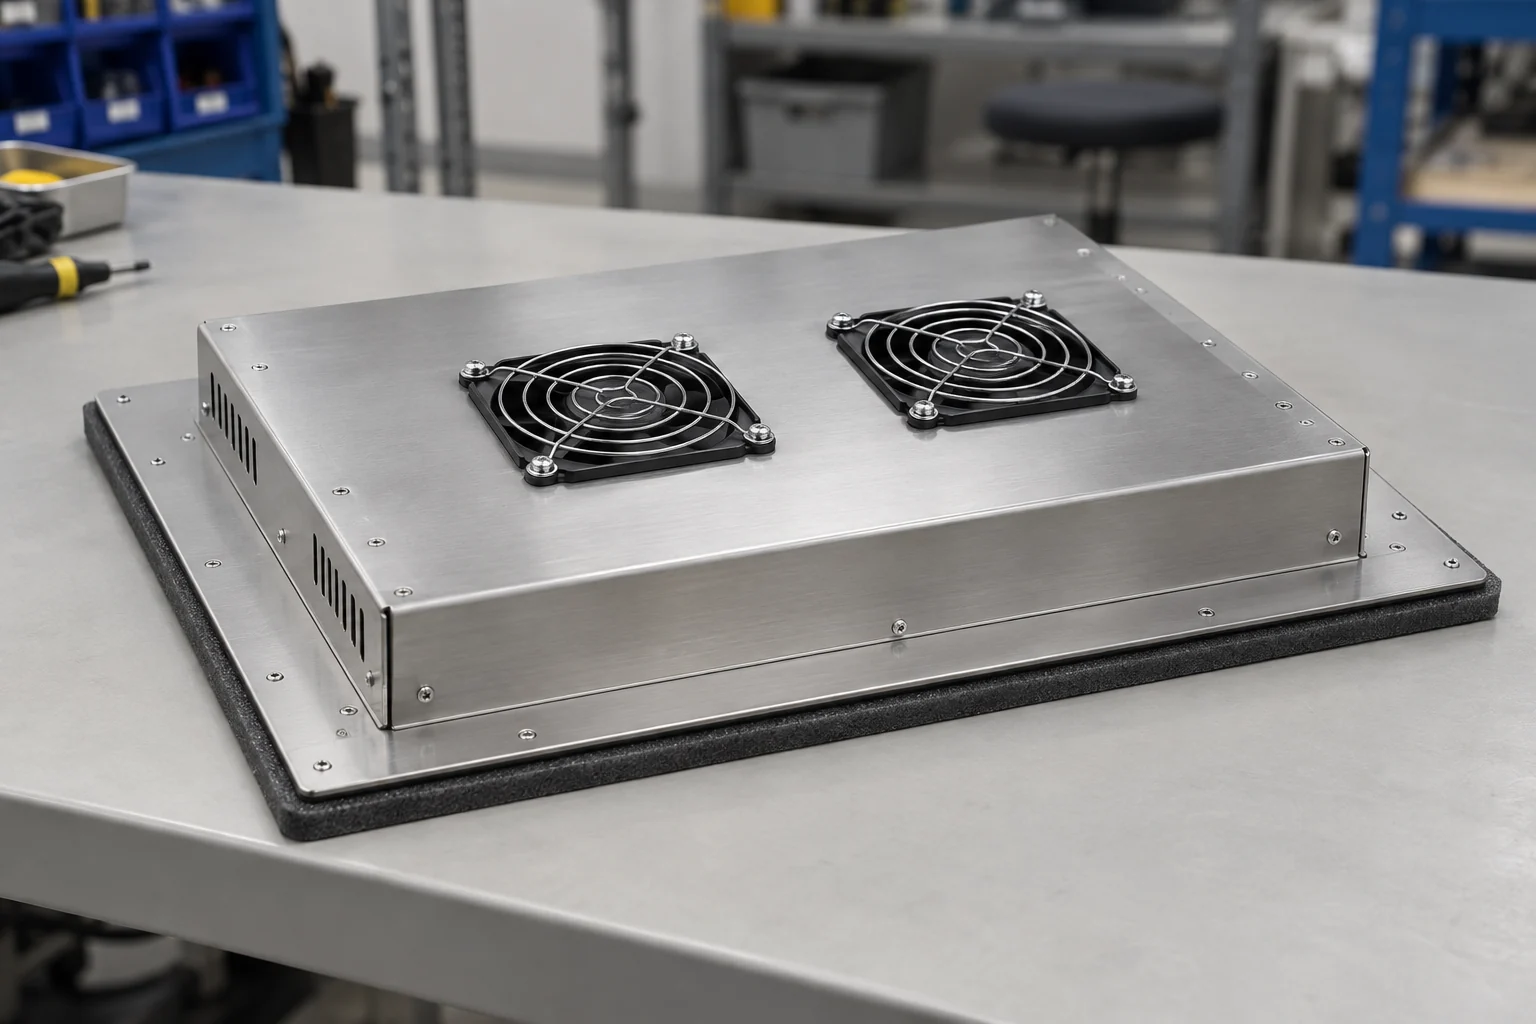
A display can run normally on a workbench and still run too hot inside a machine. A cabinet wall restricts the rear fan, cables cover a ventilation opening, or a nearby power supply warms the intake air. Outdoors, direct sunlight adds heat to the display face and cabinet.
The monitor has not changed, but its cooling conditions have.
Industrial display thermal management involves identifying these heat loads, moving heat away from sensitive parts and providing a route out of the equipment. For fan-cooled monitors, the fan, airflow path and installation space must work together.
Start with three questions: where does the heat come from, where does the cooling air travel, and how will the finished installation be tested?
Begin with the monitor’s power consumption at the required brightness, the location of its heat-producing components and the installation environment. Screen size and brightness alone do not determine the cooling arrangement.
| Heat source or load | What to check |
|---|---|
| LED backlight | Power at the required continuous brightness and the location of the LED assemblies |
| Backlight driver and power circuits | Local hot spots and nearby temperature-sensitive components |
| Display controller | Board position, component temperature limits and available airflow |
| Nearby equipment | Whether power supplies or other devices warm the air entering the monitor |
| Direct sunlight | Exposure of the display face and cabinet, installation orientation and duration of exposure |
The backlight is often a major internal heat source, particularly in high-brightness LCD monitors. However, cooling the backlight alone may leave the driver or controller board too hot. For component selection details, see our industrial LCD backlight guide.
For outdoor equipment, solar heating can be a major—and sometimes dominant—thermal load. Energy absorbed by the display face and cabinet can raise their temperatures well above the surrounding air. Rear ventilation may cool the electronics without adequately controlling a sun-exposed LCD.
High ambient temperature presents another constraint: it reduces the temperature difference available to carry heat away. Assess it alongside internal power and solar exposure, rather than treating the LCD’s temperature rating as proof that the complete installation will work.
Our outdoor industrial display overheating guide covers solar-related symptoms and field checks.
Identify the intake, the parts requiring cooling and the outlet. Air should reach those parts before leaving the enclosure.
An inlet placed too close to an outlet can create a shortcut. Air moves between the openings while a board farther away remains hot. A large open passage beside a crowded board can also allow air to bypass the area that needs it.
Fan position should follow the internal layout. A baffle or duct may help direct air through a poorly ventilated area, but its added resistance must be considered.
Metal covers, heat spreaders and thermal interfaces still contribute to fan cooling. They transfer heat from components to surfaces exposed to moving air, provided the intended thermal contact is maintained.
A fan’s maximum airflow rating describes free-air performance, not the flow delivered inside an assembled monitor. Grilles, filters, narrow passages and bends introduce resistance.
Use the fan’s airflow–static pressure curve together with the expected system resistance, then verify performance in the assembly. Maximum airflow and maximum static pressure are not available simultaneously. Oriental Motor’s fan reference explains this relationship.
A larger or faster fan may help, but it will not necessarily correct a blocked passage or poorly positioned outlet. Check the route before increasing fan size or speed.
An internal circulation fan moves air within a closed housing. It can reduce local hot spots, but heat must still pass through the housing or a heat exchanger to reach the outside.
A ventilated monitor exchanges air with its surroundings. Inside a closed machine cabinet, it discharges heat into that cabinet. The cabinet must then release the heat externally; otherwise, the monitor draws in progressively warmer air.
Ordinary fan ventilation cannot cool the assembly below the temperature of its incoming air. If that air is already too hot, the design may need reduced heat load, shading, a different enclosure arrangement or refrigeration-based cooling—not simply more fan speed.
Front-panel sealing must also be considered separately from rear ventilation. A sealed front does not make rear fan openings waterproof. Dust, moisture and filtration requirements need to be addressed for the complete equipment.
The installation must preserve the conditions needed by the cooling design. A monitor tested with an unobstructed rear cover should not be approved for a tight cabinet without checking the difference.
| Installation issue | What to check |
|---|---|
| Rear fan close to a cabinet wall | Required clearance around the fan and ventilation openings |
| Cables crossing a vent | Routing with the complete harness installed |
| Exhaust returning to the intake | Separation between inlet and outlet paths |
| Power supply beside or below the monitor | Temperature of the air entering the display |
| Added filter, grille or cover | Effect on airflow, including expected filter loading |
There is no single rear-clearance dimension suitable for every industrial monitor. Follow the selected model’s installation requirements and review space restrictions with the supplier.
Include brackets, covers and cable bundles in that review. A bracket may partially cover a vent even though it does not interfere with mounting. A cable service loop may hang in front of a fan when the cabinet door closes.
For the wider mechanical arrangement, see our industrial display structure guide.
Confirm whether the supplied fan runs continuously or uses temperature-based control. Variable speed, fan-failure monitoring and alarms should be specified explicitly; they are not standard features on every monitor.
Where temperature control is fitted, sensor placement and switching thresholds must suit the parts being protected. The control should respond before those parts exceed their limits and avoid repeatedly switching around one temperature.
Before releasing the cabinet design, check whether a technician can inspect the openings, clean or replace an approved filter, and replace the fan without dismantling the machine.
Set inspection intervals according to contamination and operating conditions. A clean control room and a dusty production area need different maintenance plans.
If overtemperature protection reduces brightness, confirm that the reduced level remains usable. This is separate from ambient-light adjustment, covered in our automatic dimming guide.
Test with the monitor mounted in the final cabinet, covers closed and cables in place. Use the intended orientation, highest required continuous brightness and nearby equipment loads that represent the highest expected heat output.
Include the upper intended ambient temperature. Where variable-speed cooling is fitted, test its normal control settings. An open cabinet or a fan temporarily forced to maximum speed may hide a problem.
For direct-sun installations, hot-air testing alone does not reproduce the full thermal load. Include a controlled solar-exposure assessment using defined exposure conditions, and monitor the LCD as well as the electronics. Record irradiance, orientation, duration and ambient conditions so the results can be interpreted and repeated.
Record external ambient temperature, air entering the monitor and supplier-defined critical measurement points. Depending on the design, these may include the LCD surface, backlight region, driver board and controller components.
Compare each reading with the limit applicable to that measurement. Ambient operating ratings, component case limits and LED junction limits are different specifications. A rear-cover reading cannot replace all of them, and junction temperature may require a manufacturer-approved calculation or measurement method.
Use suitable sensors and attachment methods. Infrared readings from glass or shiny metal need particular care because reflections and emissivity can affect the result.
Continue until monitored temperatures stabilize under the agreed conditions. Define the stability criterion beforehand and retain the temperature trend, not just the final reading.
Inspect brightness stability, image quality and touch operation during the test. Confirm that any configured thermal protection activates and recovers as intended.
If safe operation depends on the fan, agree a controlled fan-failure assessment with the supplier. Establish the procedure and stopping limits before carrying it out.
Keep a record that can be repeated after a design change:
| Record | Details |
|---|---|
| Configuration | Monitor, fan arrangement, cabinet, filters and mounting orientation |
| Conditions | Ambient temperature, brightness, equipment load, fan settings and solar exposure where applicable |
| Measurements | Sensor locations, temperature trends and corresponding limits |
| Results | Image and touch operation, brightness, protection behavior and remaining temperature margin |
Passing this test supports the cooling design under the conditions tested. It does not establish a service-life figure on its own.
Changes to the fan, ventilation openings, cabinet layout, brightness or solar exposure should trigger a review of whether retesting is needed.
Planning to install an Eagle Touch monitor inside your equipment? Send us the installation drawing, required brightness and operating temperature. Include cabinet ventilation, nearby heat sources and any direct sunlight exposure so we can review the cooling arrangement with you.
An industrial panel PC is a computer with a built-in display, usually a touchscreen, designed for …
An embedded PC is a computer configured to work as part of a machine or larger …
Start with the software the panel PC must run and the conditions it must fit. Then …
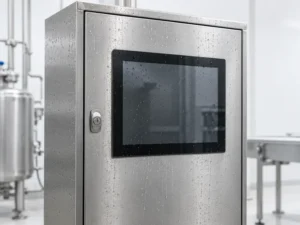
Choosing an industrial panel PC IP rating starts with two questions: what dust and water exposure …
Share your application, requirements, or current challenge. Our team will review the details and recommend a practical way forward.