What Is an Industrial Panel PC? Components, Types and Applications
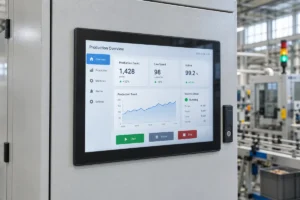
An industrial panel PC is a computer with a built-in display, usually a touchscreen, designed for …
Eagle Touch Engineering Team
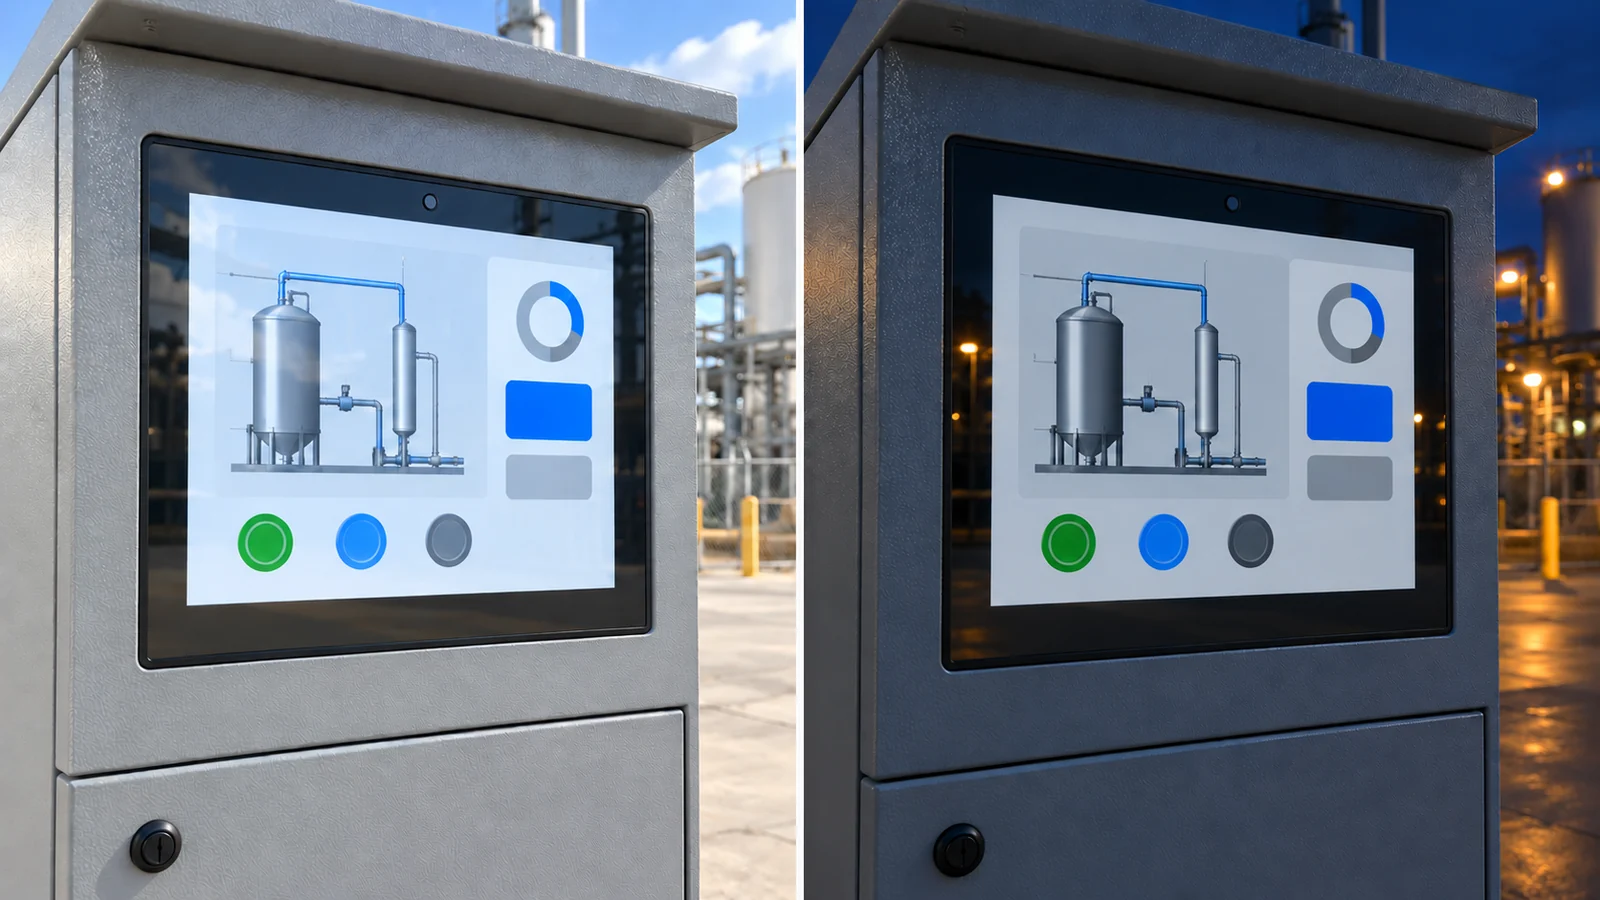
A kiosk screen that looks right at midday can feel uncomfortably bright after dark. Leaving it at maximum brightness also uses power when the extra light no longer helps the reader.
Automatic dimming adjusts an industrial LCD’s backlight to suit changing ambient light. It is useful for outdoor terminals and equipment that operates through day and night. In a room with stable lighting, a fixed or manually adjusted setting may be sufficient. Reducing brightness when nobody is using the equipment is a separate function: it needs an inactivity timer or a machine-state signal.
Before approving a monitor, confirm how dim it can go, how quickly it responds to changing light, and what happens after a restart or sensor fault.
An ambient light sensor measures illumination near the display. A controller uses that reading to select a target brightness, then commands the backlight driver to adjust its output.
The sensor measures lux; the screen’s luminance is specified in nits, or cd/m². There is no universal lux-to-nits conversion. The appropriate brightness depends on the display’s reflections, installation angle and viewing conditions. Set the required brightness range using the industrial display brightness guide, then define how the display moves within that range.
The driver adjusts brightness by changing LED on-time (PWM), current level (analog dimming), or a combination of both. Some drivers convert a PWM input into analog control, so the input label alone does not tell you how the LEDs are driven. See the Texas Instruments dimming explanation for the electrical details.
Support for dimming does not mean automatic dimming is included. The sensor, controller logic and compatible driver must work together. Agree whether the monitor handles this locally or receives commands from the equipment controller.
These functions can work together, but they respond to different conditions.
| Function | Trigger | What to confirm |
|---|---|---|
| Ambient-light dimming | Surrounding light changes | Sensor, brightness range and response settings |
| Idle dimming | No interaction or a defined idle state | Timer or machine signal; return to normal brightness |
| Backlight off | A command or scheduled condition | Electronics that remain powered; how the image becomes visible again |
| Monitor standby | Video-signal state or a supported command | Actual standby power, wake source and recovery time |
An ambient light sensor cannot tell whether someone is operating the machine. Similarly, a black image on a conventional globally backlit LCD does not necessarily turn off the backlight or meaningfully reduce its power.
If the display must show an alarm or an active process, define whether idle dimming and standby are allowed in that state.
Position the sensor where it can detect lighting relevant to the screen. A sensor hidden behind cabinet metalwork may report darkness while the display is in sunlight. One facing a nearby lamp can report conditions that do not match the screen surface.
The sensor opening, cover-glass transmission and any printing over it affect the light reaching the sensor. Light leaking from the display can also distort the reading. Calibrate with the final front assembly; a later change to the glass or sensor window may require recalibration.
A useful brightness range has two limits: enough output for the intended daylight conditions, and a low setting that remains comfortable and readable at night. Essential text and controls must remain visible at both ends.
Ask for the minimum stable luminance at the finished display surface, not only a percentage in the settings menu. “10% brightness” is not a comparable optical specification across different monitors.
For backlight hardware limits and driver options, see the industrial LCD backlight selection guide.
A person passing the kiosk should not make the screen repeatedly brighten and dim. Three controls help avoid this:
Longer delays are not always better. When the equipment moves into brighter light, the screen still needs to become readable promptly. Agree the response to sustained changes as well as short disturbances.
Operators may need a manual adjustment when local lighting changes or the sensor is obstructed. Agree how that override works, when automatic control resumes, and which settings survive a power cycle. Startup brightness also matters while the sensor and controller initialize.
Ask what happens if the sensor becomes disconnected or reports invalid data. A covered sensor may still produce a valid dark reading, so obstruction is not always detectable as an electrical fault. Set the minimum brightness and manual recovery method accordingly. Do not assume every controller includes fault detection or a configurable fallback.
If both the host and monitor can adjust brightness, assign control priority to avoid competing commands.
Savings depend on the monitor’s power at each brightness level and how long it operates there. A screen that spends most of its day in bright sunlight has less opportunity to save than one running through long evening and nighttime periods.
Daily energy use = the sum of power in each operating state × hours in that state.
For illustration only, suppose a monitor draws 30 W at its daytime setting and 12 W at its nighttime setting:
| Operating pattern | Daily energy |
|---|---|
| Daytime setting for 24 hours | 30 × 24 = 720 Wh |
| Daytime setting for 12 hours, nighttime setting for 12 hours | (30 × 12) + (12 × 12) = 504 Wh |
That hypothetical schedule saves 216 Wh per day, or 30% of the monitor’s energy. These are example values, not Eagle Touch product measurements or a guaranteed saving.
Measure the actual monitor after warm-up at the agreed input voltage and brightness settings. Keep the measurement boundary consistent: DC input power and AC power including an adapter are different measurements. For a panel PC, hold the computing workload constant when comparing display settings.
A 50% brightness setting does not imply 50% lower total power. The controller and other circuits still consume energy. Lower backlight output can reduce internal heat, but it does not replace the cooling and airflow design needed at full operating brightness.
Test the production-intent monitor in its installed position, with the final sensor window and representative screen content.
| Test | What to observe |
|---|---|
| Sustained change from bright to dark, then back | Readable endpoints and an acceptable transition time in both directions |
| Brief sensor shading | No distracting brightness drop when a hand or person passes |
| Light fluctuating near a switching threshold | No repeated bright–dim cycling |
| Lowest intended brightness | Essential text remains readable; no objectionable flicker or unstable output |
| Power cycle and manual override | Agreed startup setting, saved preferences and return to automatic control |
| Sensor obstruction or a supplier-approved fault simulation | Usable behaviour and an accessible recovery method |
If cameras view the screen, also check for banding under the intended camera settings. If idle dimming or standby is enabled, verify recovery time and whether the first touch only wakes the display or also activates a control.
Record the monitor configuration, firmware, settings and results. A sample approved on the bench may respond differently once its sensor sits behind the finished cabinet front.
Adding automatic dimming to a kiosk or industrial terminal? Send Eagle Touch an installation photo or drawing, describe the daytime and nighttime lighting, and tell us whether brightness should be controlled by the monitor or your host system. Include your target brightness range if known. These details help us review the sensor position and controller requirements before you order samples.
An industrial panel PC is a computer with a built-in display, usually a touchscreen, designed for …
An embedded PC is a computer configured to work as part of a machine or larger …
Start with the software the panel PC must run and the conditions it must fit. Then …
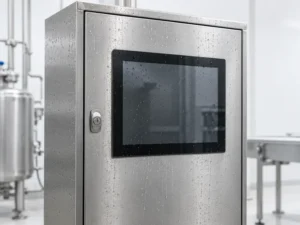
Choosing an industrial panel PC IP rating starts with two questions: what dust and water exposure …
Share your application, requirements, or current challenge. Our team will review the details and recommend a practical way forward.