What Is an Industrial Panel PC? Components, Types and Applications
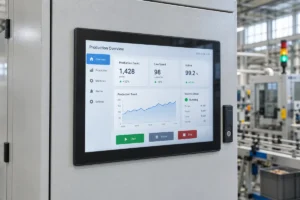
An industrial panel PC is a computer with a built-in display, usually a touchscreen, designed for …
Eagle Touch Engineering Team
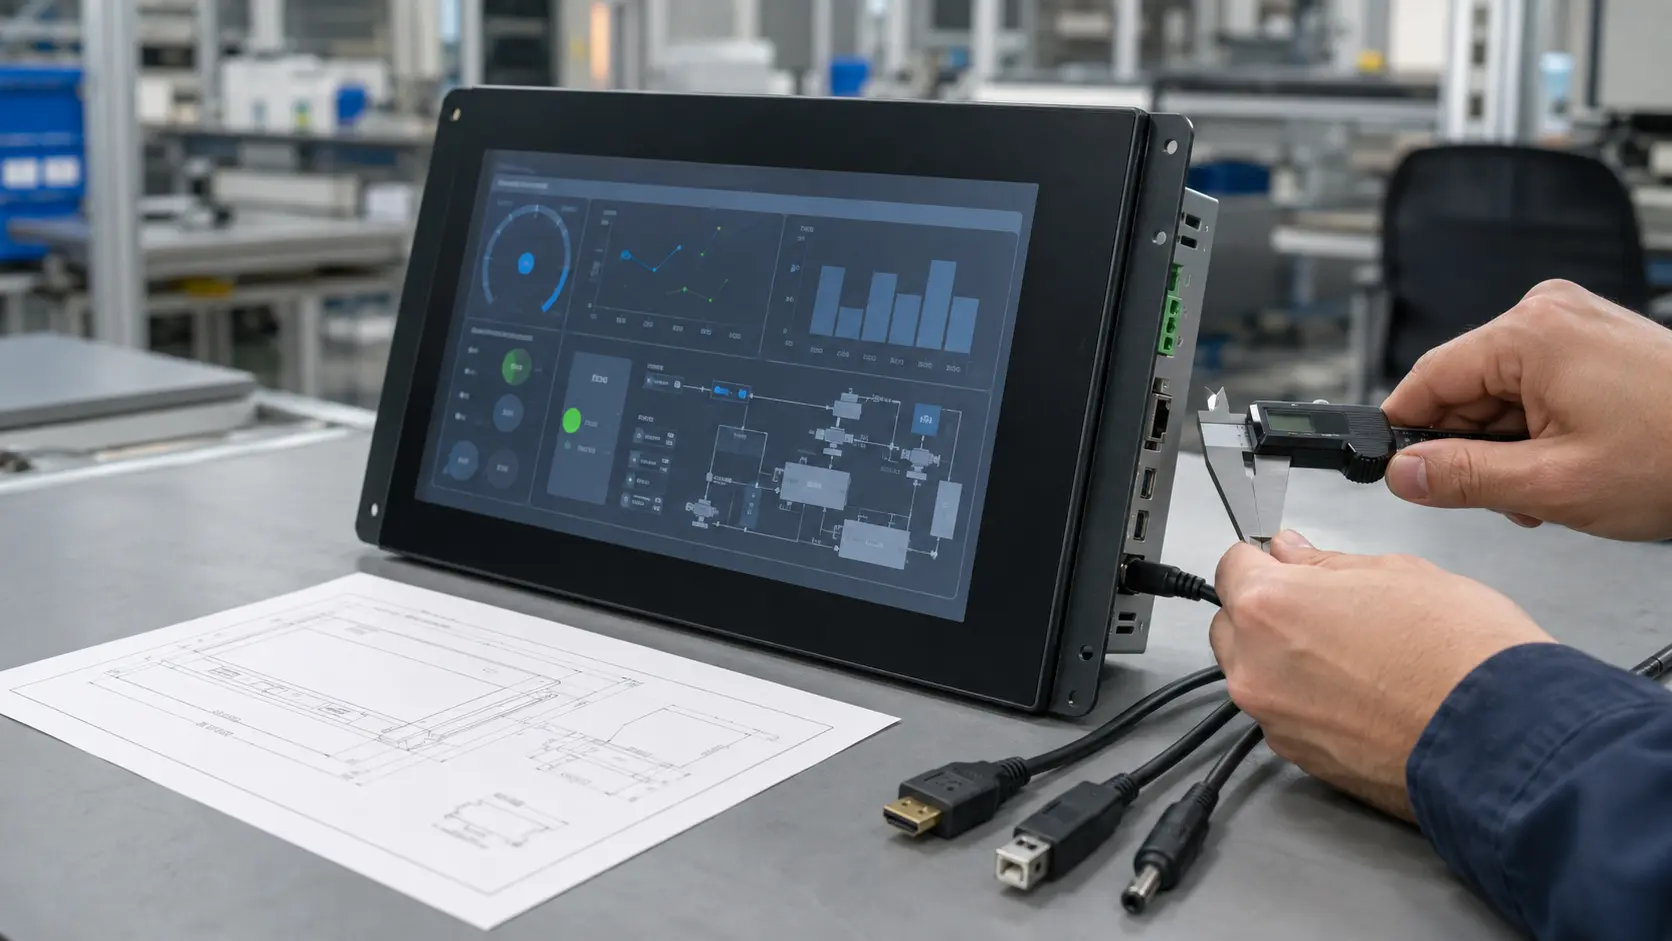
An industrial display monitor should be specified as part of the machine, not as a desktop accessory. A monitor may have the right screen size and brightness yet still fail the project because its mounting holes do not fit, its connectors are blocked or it does not start correctly with the host.
For an OEM project, begin with the enclosure, host system and working environment. Then define the display, touch, interfaces and protection around those conditions. The sample should be tested in the finished equipment before the design is released for production.
The words LCD, display, touch screen and monitor are often used for different products. Defining the product boundary first prevents quotations for the wrong assembly.
| Product | What It Includes | Suitable When |
|---|---|---|
| LCD panel | TFT-LCD and backlight | You design the controller, structure and integration |
| Display assembly | LCD with optional touch panel, cover glass and bonding | Your system already includes suitable display electronics |
| Industrial display monitor | LCD, controller board, video inputs, power circuit and mounting structure | An external PC or embedded controller provides the video signal |
| Industrial panel PC | Display, touch screen and computer in one unit | The HMI also needs to run the software locally |
If the computer and display must be integrated, an industrial panel PC may be the better architecture. If the equipment already has a computer or embedded controller, a separate industrial display monitor normally offers easier replacement and greater freedom to upgrade the computer later.
Check the mechanical fit before choosing optional features. Changing a cabinet opening after tooling is much harder than adjusting the monitor during design.
Confirm the following dimensions on the monitor and enclosure drawings:
An open-frame monitor is normally fixed behind the customer’s front panel. A panel-mount monitor fits into a cabinet cutout. A VESA monitor suits a machine arm or rear bracket, but the VESA pattern alone does not confirm that the enclosure and cables will fit.
Do not approve a sample from the screen diagonal alone. Two 15.6-inch monitors can use the same LCD resolution while having different glass dimensions, mounting depths and connector locations.
The display, touch and power paths should be reviewed separately. A single connector type does not confirm complete compatibility.
Record the host model, output, native resolution, orientation and cable length. HDMI and DisplayPort are common external inputs; VGA or DVI may remain appropriate for existing equipment. LVDS and eDP are normally internal panel interfaces.
Use the host’s native output where practical. Converters add another device, connection and startup sequence to validate. Our HDMI, DisplayPort and USB-C guide explains when each interface is appropriate.
Verify the native resolution, scaling, portrait rotation, cold start, simultaneous power-up, sleep/wake behaviour and recovery after reconnecting the video cable. These checks can expose EDID, hot-plug or controller-initialisation problems missed by a quick bench test.
USB HID is usual when the operating system supports it without a special driver; older systems may require RS232. Confirm the OS, interface, cable length and connector before selecting the controller.
Touch technology should follow the actual input method. PCAP is commonly used for a sealed glass front and multi-touch interface. Resistive touch remains useful when pressure input with a stylus or non-conductive glove is required. Neither technology is universally better, and price depends on the complete configuration rather than the touch principle alone. See our PCAP vs resistive touch screen comparison for the detailed decision.
Specify the available voltage. Depending on the design, a monitor may use 12 VDC, 24 VDC, 12–24 VDC or an optional wide-input circuit such as 9–36 VDC.
Confirm voltage variation, maximum power, startup current, connector and grounding. If the machine shares power with motors or relays, test with that system rather than only a laboratory adapter.
“Indoor” and “outdoor” are not complete specifications. Define the conditions the assembled equipment will actually experience.
| Application Condition | What to Confirm |
|---|---|
| Controlled indoor area | Ambient light, duty cycle and normal operating temperature |
| Bright factory floor | Required luminance, reflections and viewing direction |
| Direct or partial sunlight | Brightness, optical bonding, surface treatment, solar load and cabinet temperature |
| Dust or occasional water | Installed front seal and direction of exposure |
| Washdown area | Water pressure, distance, direction, chemicals and complete sealing boundary |
| Glove operation | Actual glove material, thickness and required gestures |
| Wet operation | Whether droplets should be ignored, a wet finger accepted, or touch suspended |
| Public equipment | Cover-glass construction and verified impact requirement |
| Sealed cabinet | Internal temperature at maximum brightness and worst-case ambient temperature |
| Vibration | Mounting rigidity, cable restraint and connector retention |
Brightness is only one part of readability. Reflection from the cover glass and air gap can wash out a bright LCD. Optical bonding reduces internal reflection but adds cost and process requirements. See air bonding vs optical bonding for a focused comparison.
The temperature rating must apply to the complete monitor, not only the LCD panel. The backlight, controller board, touch controller, bonding material and power circuit must all suit the required range. For a high-brightness monitor inside a sealed outdoor cabinet, solar heating and internally generated heat should be evaluated together.
For a touch monitor, state how the operator will use it:
PCAP glove and wet-touch performance depends on the sensor, controller, firmware, glass, bonding, grounding and final enclosure. A statement such as “supports gloves” is not enough; the actual glove and finished machine should be tested.
Protection ratings also need a defined boundary. Many panel-mount monitors provide front IP protection only after they are correctly installed with the specified gasket and clamping force. That does not mean the rear electronics or the complete customer cabinet have the same rating. Our industrial waterproof touch screen guide explains the difference between front sealing, complete enclosure protection and wet-touch behaviour.
Cover-glass thickness alone does not establish an IK rating. If impact resistance is required, define the target rating and the configuration to be tested, including the glass, bonding, frame support and installed assembly.
OEM equipment may remain in production for years, while LCD panels, controller boards and touch components change sooner.
Before production, agree on:
Long-term supply does not always mean one LCD model remains unchanged. The aim is to control changes and preserve agreed mechanical, electrical and optical performance.
A sample should be installed in the real cabinet and connected to the intended host, power supply and cables. Testing only on an open bench can miss thermal, grounding, EMI and mounting problems.
| Test | What to Verify |
|---|---|
| Mechanical fit | Cutout, depth, holes, glass overlap and cable clearance |
| Video | Native resolution, scaling, orientation and image stability |
| Startup | Cold boot, simultaneous power-up, restart and signal recovery |
| Touch | Accuracy, edges, gestures, glove, wet use and response after reboot |
| Power | Normal input, permitted voltage variation and repeated cycling |
| Thermal | Closed cabinet, maximum brightness and worst expected ambient temperature |
| Optical | Actual lighting, reflection, viewing angle and portrait use if required |
| Electrical environment | Final power supply, grounding, cables and nearby noise sources |
| Sealing | Installed front structure, gasket compression and exposure direction |
| Service | Access to connectors and removal without damaging surrounding parts |
| Extended operation | Stable image and touch performance over the planned duty cycle |
If a project requires regulatory or environmental testing, agree on the test standard, sample configuration and pass criteria before production. “Industrial grade” is not a substitute for documented requirements.
A useful RFQ removes the assumptions that affect construction and cost.
Please provide:
Photos of the cabinet, existing monitor and connector area are useful. If some specifications remain open, state the application and priorities rather than selecting every option in advance.
They should be developed together. If the cabinet is fixed, provide the cutout, maximum dimensions, depth and connector-clearance limits.
No. A panel PC contains the computer and runs the application. A monitor receives video from a separate host.
Test it in representative equipment with the intended host, power supply, cables, enclosure and software. Record the approved drawing, hardware revision and firmware.
Yes. Agree on change notification, approved alternatives and the tests needed to confirm form, fit and function before using a replacement.
The best time to solve an industrial monitor problem is before the enclosure and display design are frozen. Confirm the mechanical drawing first, then the host, interfaces, power, environment and service plan. Once the sample is available, validate the complete assembly rather than the monitor alone.
For a new project, send Eagle Touch your cabinet drawing, host interface, operating environment and estimated quantity. We can review the industrial display monitor configuration before sampling and identify the points that need to be tested in the finished equipment.
An industrial panel PC is a computer with a built-in display, usually a touchscreen, designed for …
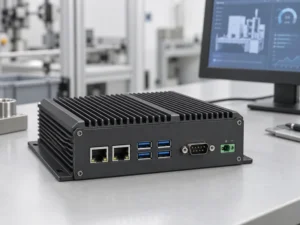
An embedded PC is a computer configured to work as part of a machine or larger …
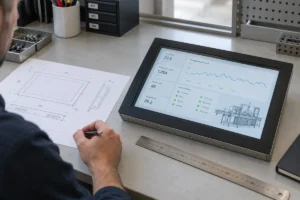
Start with the software the panel PC must run and the conditions it must fit. Then …
Choosing an industrial panel PC IP rating starts with two questions: what dust and water exposure …
Share your application, requirements, or current challenge. Our team will review the details and recommend a practical way forward.