What Is an Industrial Panel PC? Components, Types and Applications
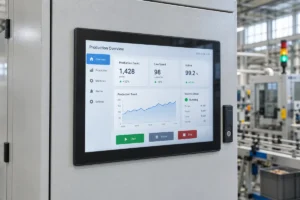
An industrial panel PC is a computer with a built-in display, usually a touchscreen, designed for …
Eagle Touch Engineering Team
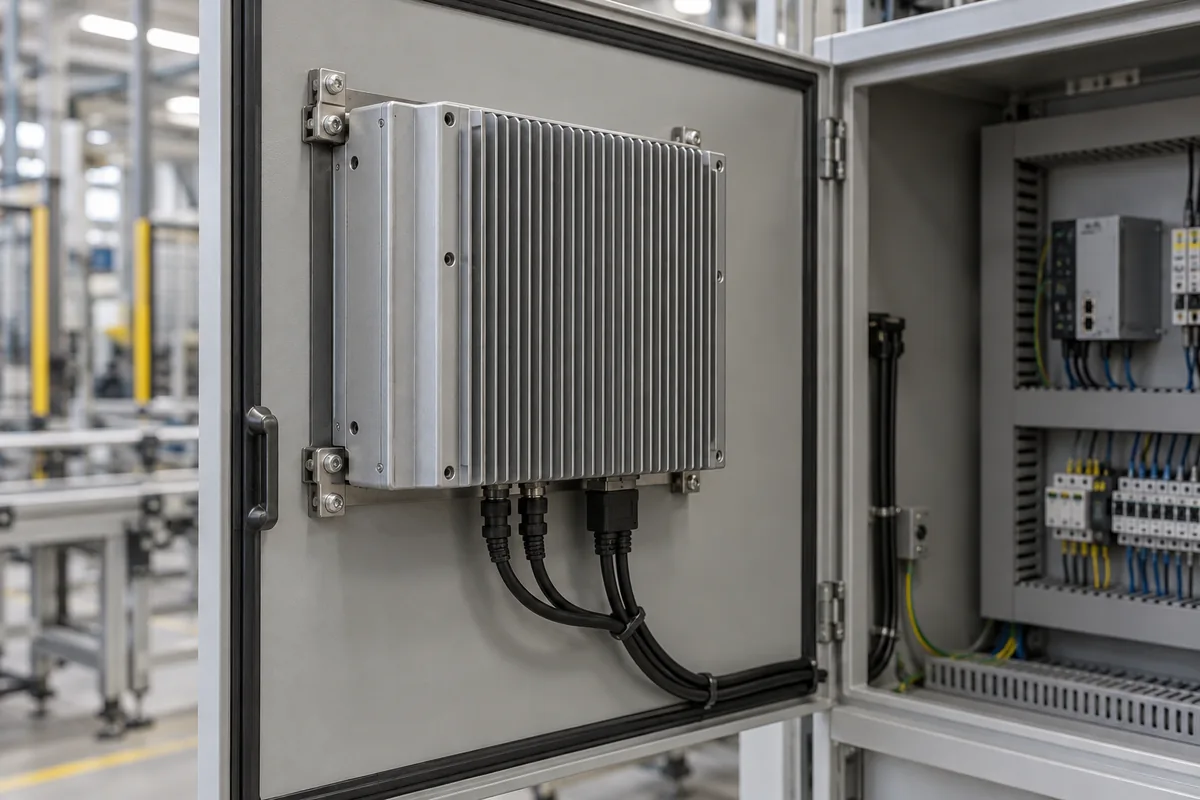
If your industrial panel PC slows down, freezes or shuts down after warming up, check whether the fault follows a temperature rise before replacing hardware. Start with the air temperature around the installed unit, then inspect its cooling path and workload. A hot metal enclosure alone does not establish overheating; on a fanless unit, it may be carrying heat away as intended.
Check where heat is building up: inside the computer, around its housing, or in the cabinet. The checks below apply to both fan-cooled and fanless panel PCs.
Record what happens before the fault. These observations help choose the first check, but none proves the cause on its own.
| What you observe | What to check next |
|---|---|
| The case feels hot, but operation is stable | Compare recorded temperatures with the manufacturer’s limits and installation requirements. |
| The application slows down after warming up | Look for a temperature rise and thermal-throttling indication during the slowdown. |
| The computer shuts down or restarts under load | Check the temperature trend before the event; also investigate power and system faults. |
| The screen goes dark while the computer remains accessible | Separate display trouble from a whole-system shutdown. |
| The unit works on a bench but fails inside the machine | Check cabinet temperature, clearance and airflow in the final installation. |
If restarting is the main symptom and you have no temperature evidence, use the industrial panel PC restart troubleshooting guide to investigate the other possible causes.
A room thermometer does not tell you how hot the air is behind the panel PC. Likewise, a CPU reading does not describe the temperature of every component.
| Measurement | How to use it |
|---|---|
| Air near the installed unit | Compare with the complete panel PC’s ambient operating rating and any mounting or load restrictions. |
| CPU or SoC sensor temperature | Interpret against the exact processor specification and system manufacturer’s guidance. |
| Available SSD or board sensors | Check for local heating that may not appear in the CPU reading. |
Measure air temperature at the manufacturer’s specified location. For preliminary checks where no location is specified, place a suitable probe near the unit’s air intake or rear cooling area, clear of hot metal and exhaust air, and record its position. Confirm the required measurement location with the manufacturer when assessing compliance with the ambient rating. An infrared thermometer measures surface temperature, not cabinet air temperature.
Use monitoring software supported by the installed platform. Record temperature, workload and any available thermal-throttling status during normal operation and near the fault. Include timestamps, screen brightness and cabinet condition. A BIOS reading taken after restarting can miss the earlier peak.
There is no universal CPU temperature that diagnoses every panel PC. Intel explains that temperature limits and thermal protection depend on the processor and system configuration. A brief peak alone is not a diagnosis. See Intel’s processor temperature guidance.
Before cabinet inspection, place the machine in its approved maintenance state. Isolate power before cleaning or changing connections; qualified personnel should arrange any measurements needed during operation.
Did the problem start with the installation, or did it appear later? For a new installation, begin with cabinet conditions and mounting. For a previously stable unit, check accumulated dirt, fan operation, seasonal temperature changes and recent software or configuration changes.
Compare room temperature with air temperature near the panel PC during a representative working cycle. Check nearby power supplies, drives and other equipment that may heat the same space.
If the surrounding air grows warmer as the machine runs, the cabinet may not be releasing its combined heat load adequately. A fan inside the panel PC cannot solve that problem by circulating increasingly warm air.
Review equipment spacing and the cabinet’s cooling arrangement. Where environmental protection permits, correctly arranged filtered ventilation may help. Sealed cabinets may need a suitably sized heat exchanger or enclosure cooling unit. Do not add openings without reviewing the required protection level.
Front IP65 protection does not mean the complete computer is sealed. Confirm the protection scope of the actual model before changing the installation.
For outdoor equipment, also check direct sunlight and the operating brightness. Solar exposure can heat the enclosure and display even when room-style ambient measurements appear acceptable. Our outdoor industrial display overheating guide covers that situation in more detail.
On fan-cooled models, inspect the intake, outlet, filters and fan assembly. Look for dust, obstructing cables and nearby surfaces that redirect exhaust toward the intake.
A temperature-controlled fan may stop at light load, so confirm its expected behavior before calling it faulty. Rotation alone also does not establish adequate airflow through a clogged filter.
Clean or replace filters according to the maintenance instructions, clear obstructions and check fan operation again. If replacement is needed, use the specified fan or an approved equivalent with the correct electrical and airflow characteristics.
Avoid fitting a larger fan without checking the route the air takes. Air that bypasses the hot components provides little benefit. The industrial display thermal management guide explains airflow and enclosure heat removal in more detail.
For a fanless panel PC, inspect the external fins and housing surfaces intended to dissipate heat. Check for dirt, added covers, insulating material or mounting hardware that obstructs them.
Confirm the permitted mounting orientation and clearances in the installation manual. Natural convection depends on the installed arrangement; a layout that works on an open bench may behave differently behind a cabinet door.
Restore the specified space around the unit and remove unintended obstructions. Do not apply a universal rear-clearance figure to every model. If the machine cannot accommodate the required clearance, ask the manufacturer to review the arrangement.
If the problem started recently, compare it with software updates, new background tasks, additional connected devices or changes to CPU power settings. Check which processes are active when temperature rises.
Reduced CPU frequency alone does not prove thermal throttling. Frequency also changes with workload and power limits. Use the available thermal status alongside temperature and application behavior.
Correct an unintended workload or restore an approved configuration one change at a time. Do not disable thermal protection. If the normal application exceeds the unit’s sustained capability, review the workload, power configuration and cooling with the manufacturer. CPU family names alone are not enough to select a replacement.
If cabinet temperature, mounting, airflow and workload are acceptable, an internal cooling problem remains possible. A loose heatsink, damaged fan or incorrect thermal-interface contact can interfere with heat transfer.
A rapid temperature rise under modest load warrants investigation, but it does not identify the failed part. Preserve the measurements and contact the supplier before disassembly. Thermal-pad thickness, heatsink pressure and seals may be specific to the assembly; improvised replacement can make the problem worse.
Repeat the test in the final installation, with covers, filters and cabinet doors in their normal operating positions. Use the same representative application load and screen brightness so the results are comparable.
Record:
Run long enough to capture warm-up, a stable temperature trend and the operating cycle that previously caused trouble. A short successful startup is not sufficient evidence. For equipment exposed to hotter seasonal conditions, arrange validation for those conditions before treating the issue as resolved.
Continuous 24/7 operation does not mean temperature should rise indefinitely. Under stable conditions, a suitable installation should reach thermal equilibrium within its operating limits. Periodic shutdowns are not a substitute for adequate cooling.
Request support if the panel PC still loses required performance or shuts down within its specified installation conditions, if a cooling component appears faulty, or if the necessary mounting space is unavailable.
Send the model and configuration, installation photos, temperature records, workload details, fault timestamps and recent changes. Include what you have already tested. This helps the supplier distinguish an installation issue from a unit that needs repair.
If you are troubleshooting an Eagle Touch panel PC, send our team the installation photos and temperature records before arranging a repair. If the checks point to a configuration mismatch, we can discuss industrial panel PC options for your equipment around the actual workload, cabinet layout and operating environment.
An industrial panel PC is a computer with a built-in display, usually a touchscreen, designed for …
An embedded PC is a computer configured to work as part of a machine or larger …
Start with the software the panel PC must run and the conditions it must fit. Then …
Choosing an industrial panel PC IP rating starts with two questions: what dust and water exposure …
Share your application, requirements, or current challenge. Our team will review the details and recommend a practical way forward.