What Is an Industrial Panel PC? Components, Types and Applications
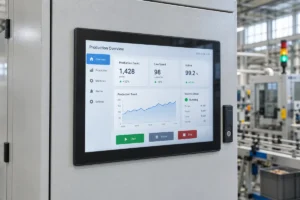
An industrial panel PC is a computer with a built-in display, usually a touchscreen, designed for …
Eagle Touch Engineering Team
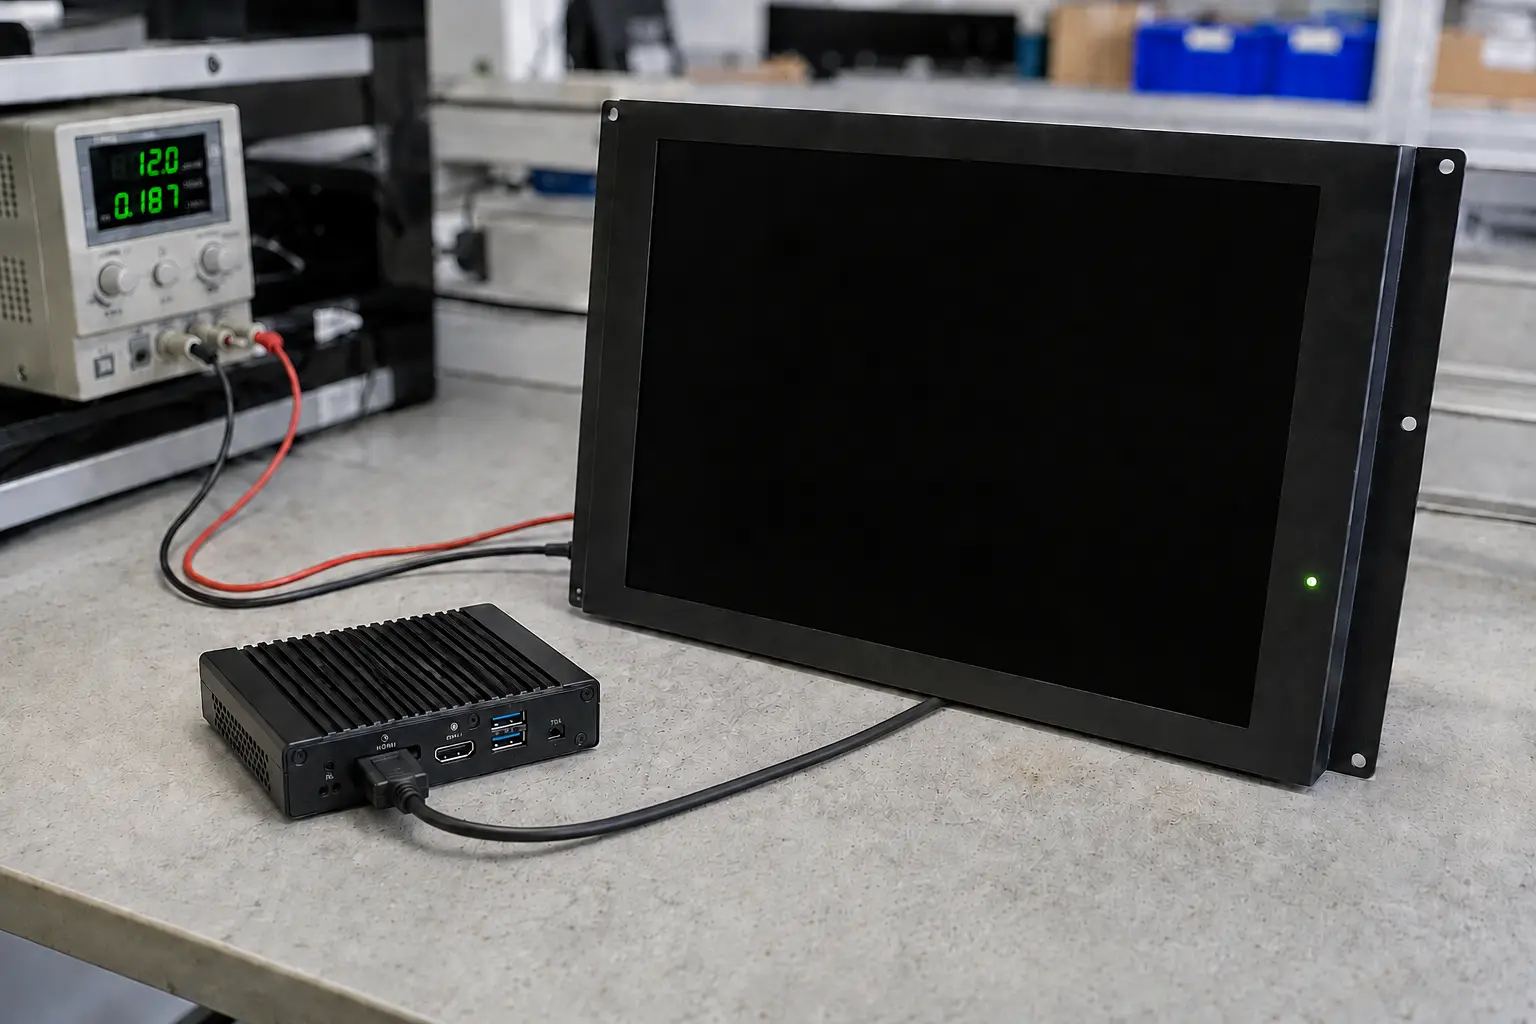
An industrial display black screen does not automatically mean the LCD has failed. Missing input power, the wrong video source, unsupported signal timing, a failed backlight, an AD board fault or a host that has stopped sending video can all produce the same symptom.
The fastest diagnosis starts with what the display is doing now. Check the indicator, backlight and OSD before restarting the equipment. Then isolate power, source, cable and display one layer at a time.
| What You Observe | Likely Area | First Test |
|---|---|---|
| Power indicator is off | Input supply, wiring, polarity or protection | Measure voltage at the display input |
| Indicator is on, but the screen is completely dark | Backlight, standby or dimming control | Check settings and perform the flashlight test |
| OSD appears, but there is no source image | Input selection, cable, host output, EDID or timing | Test a known-good cable and source |
| “No Signal” appears | Source, selected input or cable | Confirm the active output and input |
| Backlight is on, but the OSD does not appear | AD board, firmware or internal LCD path | Complete external tests, then inspect internally |
| Touch responds, but no image is visible | LCD, backlight, AD board or LCD connection | Test the host with another monitor |
| Failure follows heat, vibration or motor startup | Thermal protection, connector movement, voltage dip or interference | Reproduce and record the trigger |
For other display symptoms, see 12 Common LCD Touchscreen Display Problems. This guide deals only with black-screen and no-image faults.
Confirm which system you are testing:
Begin with non-invasive tests. Disconnect power before reseating internal cables, use the electrical ratings for the exact model and leave live-voltage or waveform measurements to qualified personnel. For an Eagle Touch product, review the Warranty and RMA Policy before opening the housing.
Record the power indicator color or blink pattern while the fault is present. Meanings vary by model, so use the product manual where available.
Then try to open the monitor’s OSD menu.
If touch still works, the host or touch controller may still be running. This does not prove that the LCD, AD board or backlight is healthy because touch and image normally use separate signal paths.
A power adapter can show the correct voltage when disconnected and collapse when the monitor starts. Measure at the display input while it is connected and under the condition that causes the fault.
Check voltage range, polarity, available current, terminal tightness and voltage drop during startup or maximum brightness. Also inspect shared supplies and grounding.
If the screen goes black when a motor, heater, relay or inverter starts, a multimeter may miss a brief voltage dip or transient. An oscilloscope or data logger may be required. The important value is the voltage reaching the display when the fault occurs—not the nominal value printed on the supply.
Change one item at a time:
If another source works, investigate the original host, output settings and cable path. If several known-good sources fail, continue with display-side checks.
For interface-specific risks, see HDMI vs DisplayPort vs USB-C for Industrial Displays.
A controller may accept one video timing but reject another with the same nominal resolution. Unsupported refresh rates, blanking parameters, color formats or failed EDID communication can produce “No Signal” or a black screen.
Return the source to a resolution and refresh rate explicitly supported by the monitor. Use a direct connection without converters, then reconnect or restart the source so it can detect the display again.
If an image appears during BIOS or the boot logo but disappears after the operating system loads, check the graphics driver and output mode before replacing hardware.
A related OEM issue occurs when HDMI works after reconnection but not when the host and display start together. If the image returns without changing the LCD, check EDID exchange, hot-plug detection, AD board initialization and power-up sequence. Test samples through repeated cold starts, sleep, wake and power recovery—not only with a static image.
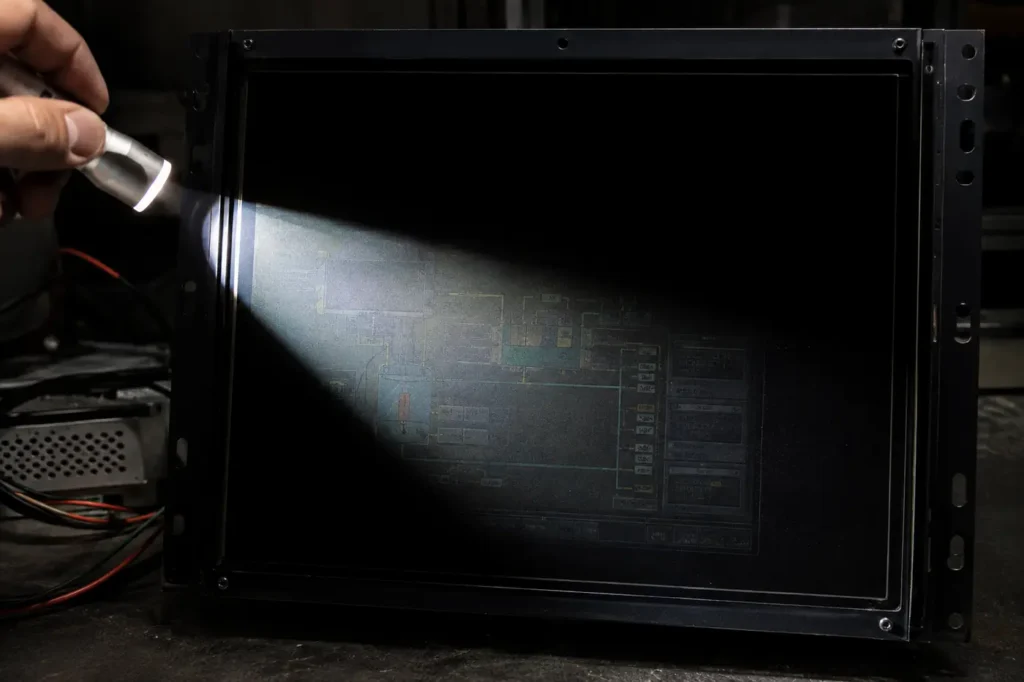
Darken the area and shine a bright flashlight across the screen at a shallow angle. Look for a faint desktop, logo, OSD or HMI graphic.
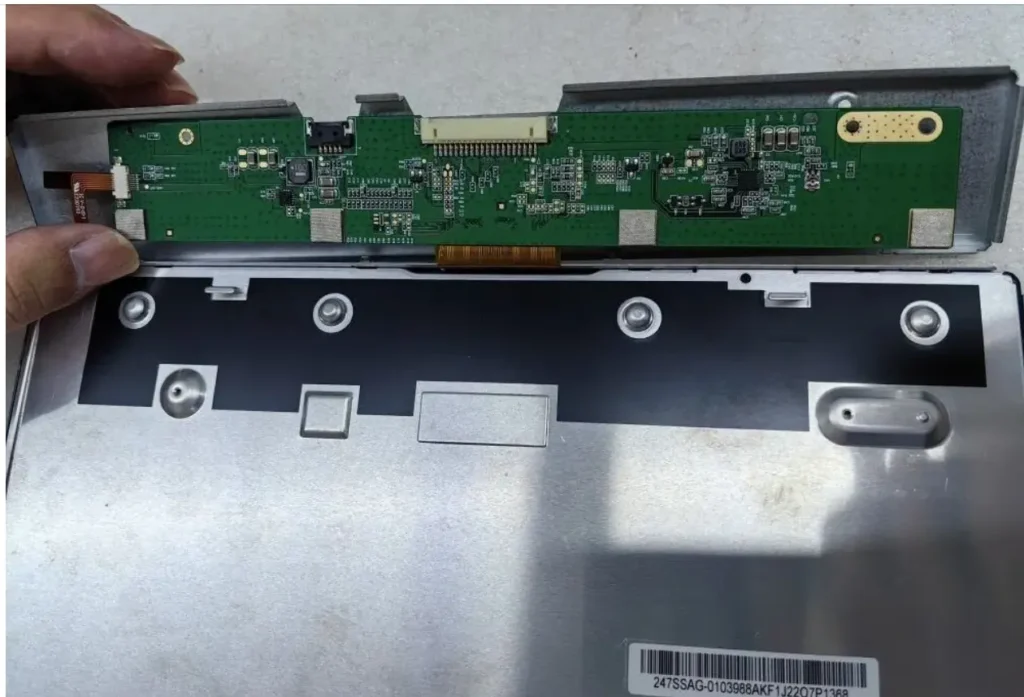
Only begin internal inspection after the external tests. With power disconnected, inspect the AD/scaler board and check that the LVDS or eDP cable is fully seated, correctly oriented and free from cuts, sharp folds, oxidation or connector damage.
The AD board and T-CON are not the same part. The AD board receives HDMI, DisplayPort, VGA or another external signal and converts it for the LCD. The T-CON is normally a long, narrow PCB mounted along an edge of the LCD rear chassis. It distributes timing and pixel data to the panel through flexible connections.
On many LCD modules, the T-CON and panel flex connections belong to the LCD assembly rather than being practical field-replaceable parts. Rule out the cable, firmware, LCD voltage and interface configuration before condemning the panel.
A replacement board is not compatible simply because its connector fits. Incorrect firmware, panel voltage, bit mapping or channel configuration can cause a black screen, white screen, unstable image or permanent panel damage.
| Trigger or Recovery Pattern | Check First |
|---|---|
| Fails during a cold start | Startup voltage, power sequence and connector contact |
| Goes black after warming up | Controller temperature, backlight load and thermal protection |
| Changes when a cable moves | Connector retention, cable wear and strain relief |
| Appears when a motor or inverter starts | Voltage dip, transient, grounding and cable routing |
| Appears after sleep, wake or input switching | EDID, firmware and source handshake |
| Display-only restart restores the image | AD board, local initialization or display power |
| Only a host reboot restores the image | Host output, driver, operating system or application |
Restart the display and host separately. Restarting both together hides which side had to be reinitialized.
If the symptom is flickering rather than complete image loss, use the guide to Industrial Monitor Flickering. If the failure follows direct sunlight or enclosure heat, investigate Outdoor Industrial Display Overheating.
Repair is practical when the failed part has been identified, a compatible component is available and the display still meets the machine’s requirements. Typical candidates include the external supply, signal cable, confirmed AD board, backlight driver or recoverable firmware fault.
Replacement is usually safer when:
Do not select a replacement by diagonal size alone. Confirm active area, outer dimensions, cabinet cutout, mounting points, available depth, resolution, video and touch interfaces, input voltage, brightness and operating temperature. Available configurations can be reviewed on the Industrial Display Monitor page.
Validate display voltage during cold start and maximum brightness. Approve the host, cable, AD board and firmware as one configuration. Test the closed enclosure at the intended ambient temperature, then repeat power loss, source switching, sleep and wake cycles. Record the approved LCD, controller, firmware and cable revisions before production.
A sample that displays a static image for ten minutes has not completed an industrial integration test.
Provide the display model, measured input voltage, indicator status, OSD and backlight condition, flashlight-test result, touch status, tested cables and sources, and the trigger or recovery method. Add a short video while the fault is present and photos of labels and connectors.
For replacement, also provide the active area, outer dimensions, cutout, mounting points, available depth, interfaces, input voltage, operating environment and estimated quantity.
Touch and image normally use separate interfaces. Working touch suggests that the host or touch controller may still be running, but it does not confirm the condition of the LCD, AD board or backlight.
Power cycling reinitializes power rails, firmware and interface handshakes. Note whether restarting only the display is enough or whether the host must also restart; this helps identify the affected side.
It confirms that the LCD is forming an image while illumination is missing. The failed point may be the LED assembly, driver, power connection, enable signal, dimming control or a protection condition.
Send Eagle Touch the existing model number, interface, input voltage, mounting dimensions, operating environment, photos and expected quantity. We can determine whether a standard or customized industrial display can fit the equipment and what must be confirmed before sampling.
An industrial panel PC is a computer with a built-in display, usually a touchscreen, designed for …
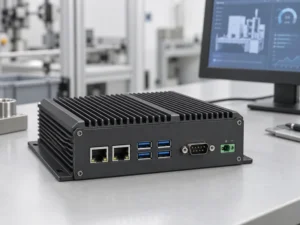
An embedded PC is a computer configured to work as part of a machine or larger …
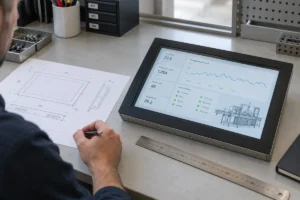
Start with the software the panel PC must run and the conditions it must fit. Then …
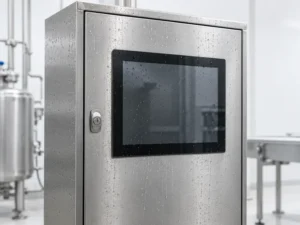
Choosing an industrial panel PC IP rating starts with two questions: what dust and water exposure …
Share your application, requirements, or current challenge. Our team will review the details and recommend a practical way forward.